
 |
| 70cc Autisa Kit |
For the sake of nostalgia, I set out to build my first Puch Autisa kitted bike...
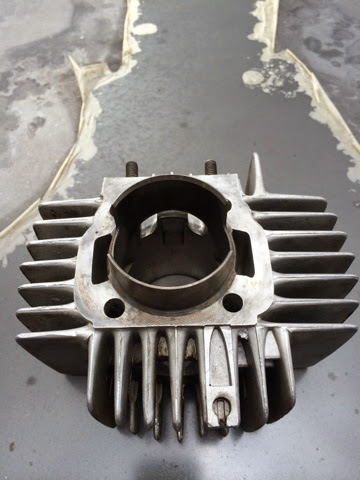
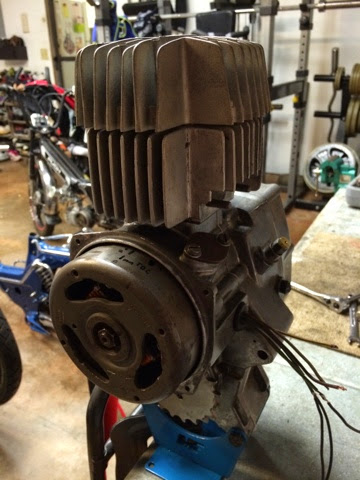
I scored this kit on the Moped Army Buy and Sell forums. At first, I couldn't believe what I was seeing. It was used but from one of the guys from Treats. I quickly snatched it up. A week later, I found it on my door ready to be reborn. This kit was so untouchable back in the day. A well tuned Autisa setup could easily take down any two-stoke bikes that where on the road those days such as YSRs, Hondas, and Yamahas. Let's pause for a moment and take the time to admire this old school cylinder's craftsmanship:
 |
| Front |
 |
| Exhaust |
 |
| Back upside down |
 |
| Back right side up |
 |
| Piston intake side |
 |
| Piston top |
 |
| Piston upskirt |
 |
| Piston exhuast side |
 |
| 70cc high comp head |
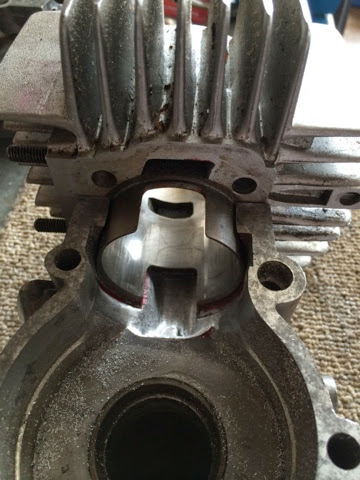
Port matching:
I did some light port matching on this one. Didn't want to go all out like my MetraKit build. All I did was match the chambers and cleaned out the manufacture imperfections. Left the port timing stock. Saving these mods for later. Just eager to the this on the road!!
 |
| Cha... |
 |
| Cha.. |
 |
| Chambers!! |
 |
| Chambers!! |
 |
| Chambers!! |
Prep for 20 tooth front sprocket:
Nothing new. JB welded the magneto side just in case. Ground the sprocket side. You don't have to go all the way through to the magneto side for the 20t sprocket to fit. 20 tooth sprocket mounted.


Plugged the oil pump:
First, I JB welded the inner tube with the O-rings on each end. Then I did a variation of an old school 28 cents plug. If you get three pennies and a quarter, the thickness is enough to fill the gap from the inner tube to the surface. Then you would use some washers and screws to secure it in. In this case I ditched the quarter and used a brass plate instead. 3 cents!! Put some gasket sealer for good measure. Pau!! Sealed!!


Stock clutch modifications:
Kept it old school and did a cut and flip mod on the stock clutches. Used my trusty spring installation tool and boom!! Pau. Instant stall!!
 |
| Cut |
 |
| Press |
 |
| Pau |
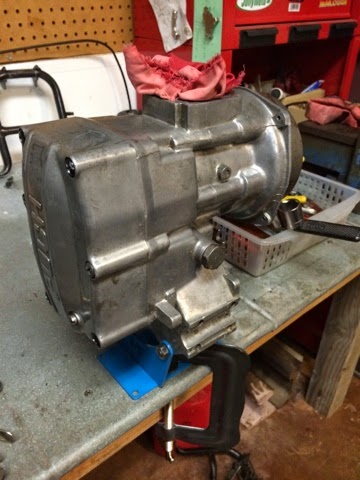
Transmission buttoned up:
Piston installed:


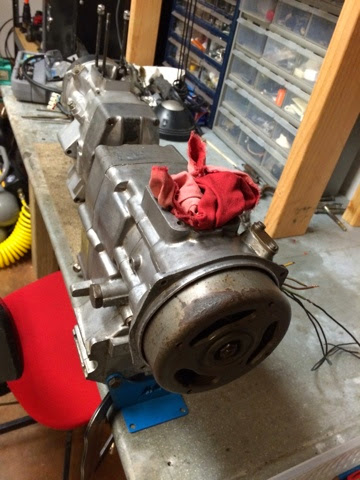
Cylinder and electrical on:
Decided to go full old school with the stock points ignition system.

Carburetor on:
Using a PHBG 20mm Dellorto I had lying around. Also modified a Puch Magnum X Bing 17mm manifold that I also had lying around. I tried my hand at Alumiweld to plug the manifold's bolt holes and re-drilled. That stuff really works great!! Made a sheet metal intake shim for it to mate up with the carb. I probably make another intake manifold in the future but wanna get the show on the road now!!


Mounted:
 |
| Magnum exhaust modified |
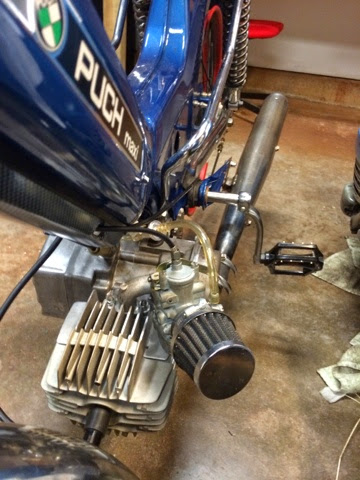 |
| K&N filter |
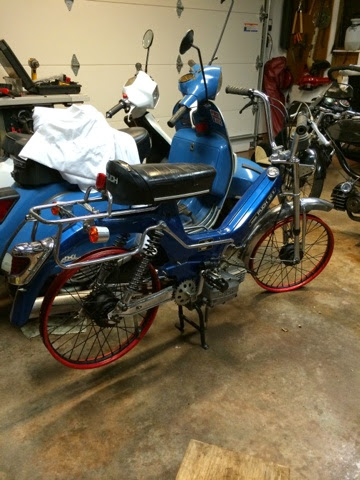 |
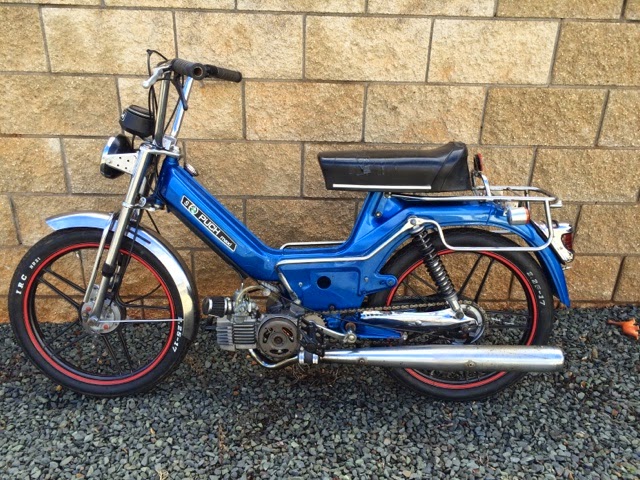
| Waiting on white walls...you heard me white walls!! |
10.23.2014 UPDATED:
Switched out tires with my Japan Fighter bike:
09.03.2108 UPDATE:
Just realized my Autisa Kit is not the coveted version from my past. It seems I have the 65cc version of the kit and not the 74cc version. The 65cc version is the size of a stock cylinder. The 74cc version is the size of a magnum bore cylinder. For some reason I thought the cylinder from back in the day was the size of a stock cylinder. My mistake. It only took me 30+ years to realized that!!! Always learning. Nonetheless, Autisa still kick ass!!!
Wow!
ReplyDeleteAnother kicking it old school. Something I never had back in the day. Autisa!!
ReplyDelete